boost 설치 방법을 설명해 보겠습니다. boost library version 1.46.1 및 Ununtu 10.10 / g++ 환경입니다.
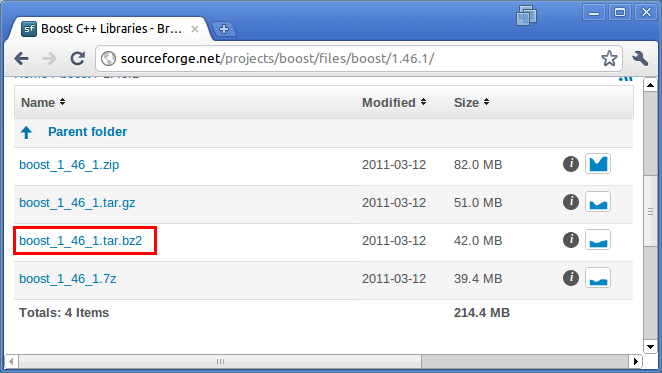
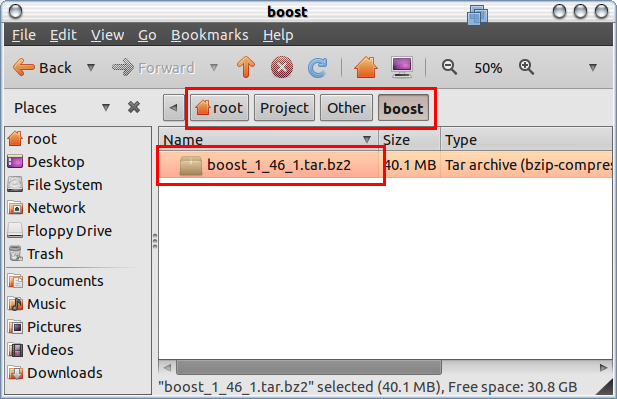
boost_1_46_1.tar.bz2 파일을 다운받습니다. 저는 /root/Project/Other/boost (이하 $root 폴더라 칭함) 에 다운을 받아 놓도록 하겠습니다.
다운받은 bz2파일을 풉니다(시간이 몇분 정도 걸립니다).
tar --bzip2 -xf boost_1_46_1.tar.bz2
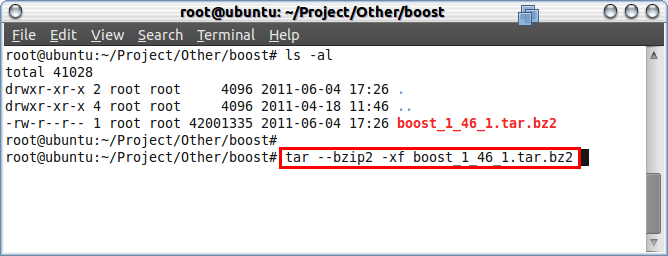
압축 파일을 풀면 "boost_1_46_1"라는 폴더에 파일들이 해제가 됩니다. 파일들의 위치를 한단계 위로 이동시켜 줍니다.
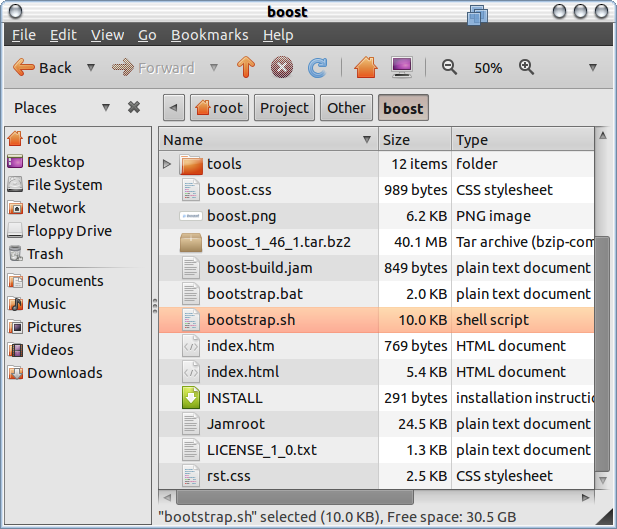
아래의 테스트 코드가 컴파일 및 링크가 되는지 확인해 봅니다.
test.cpp
#include <boost/lambda/lambda.hpp>
#include <iostream>
#include <iterator>
#include <algorithm>

int main()
{
    using namespace boost::lambda;
    typedef std::istream_iterator<int> in;

    std::for_each(
        in(std::cin), in(), std::cout << (_1 * 3) << " " );
}
Makefile에서 include path를 설정해 줍니다.
Makefile
CC=g++
CPPFLAGS=-I/root/Project/Other/boost
all: test
clean:
rm -rf test
rm -rf *.o
make를 실행시키고 executable file이 제대로 실행이 되는지 확인해 봅니다.
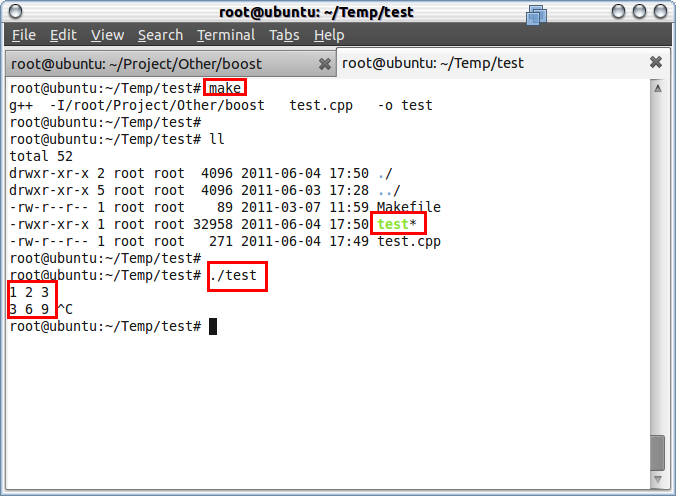
지금부터는 boost library를 만들어 보도록 하겠습니다. ($root) 폴더에서 bootstrap.sh shell 파일을 실행시켜 줍니다.
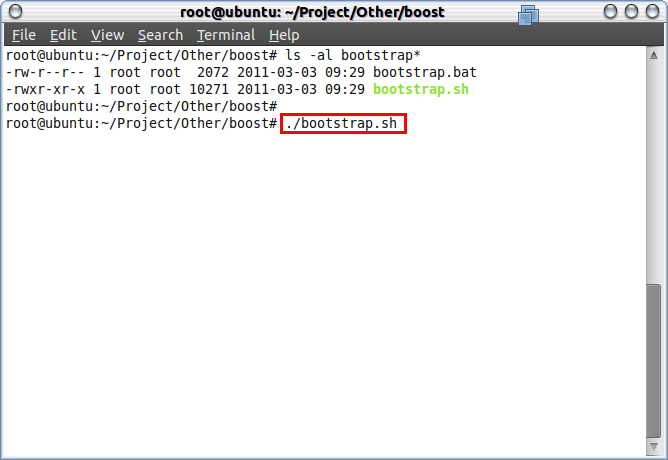
($root) 폴더에 "bjam"이라는 실행 파일이 생성되는지 확인해 봅니다.
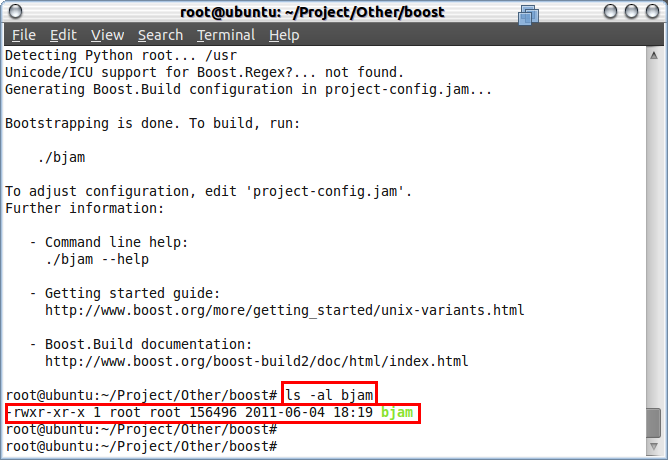
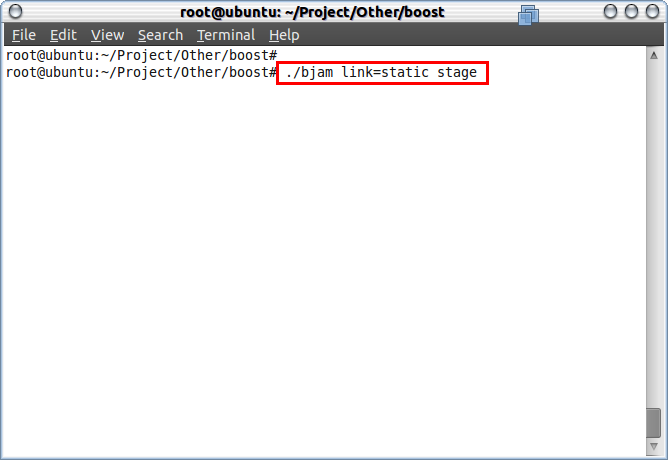
생성된 bjam을 이용하여 boost library를 만듭니다. so(shared object) 파일을 생성시키지 않고 archive file을 생성해서 static으로 링크를 걸 수 있도록 하겠습니다. 다음과 같은 명령어를 이용해서 archive file(*.a)을 생성할 수 있습니다. library를 생성하는데 걸리는 컴파일 시간은 보통 수십분 정도 됩니다.
./bjam link=static stage
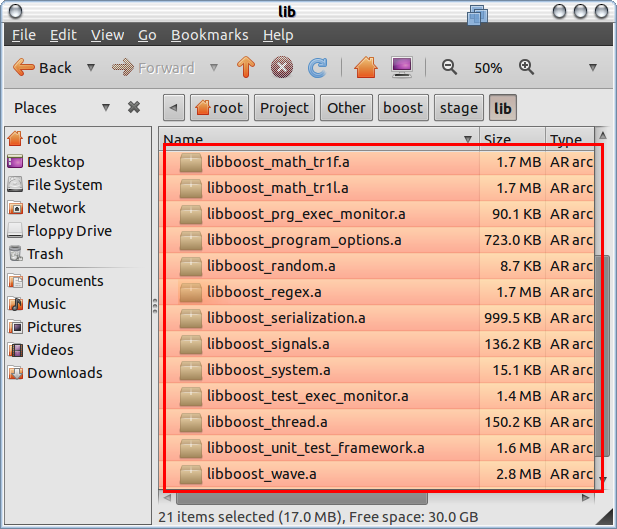
build가 완성되면 ($root)/stage/lib 폴더에 libboost*.a 파일들이 생성되어 있음을 확인할 수 있습니다.
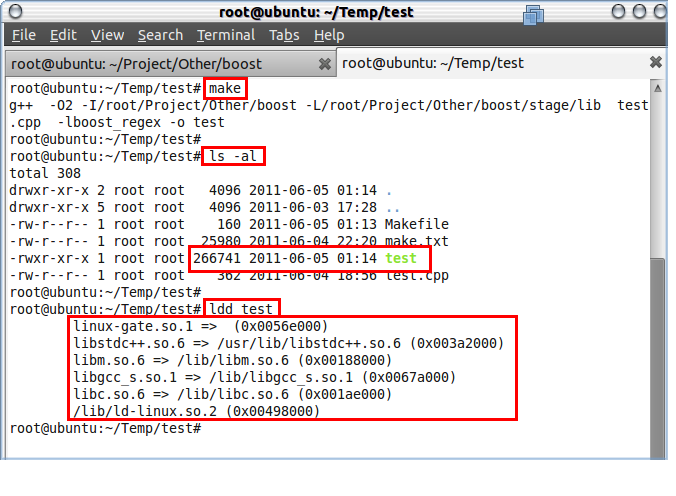
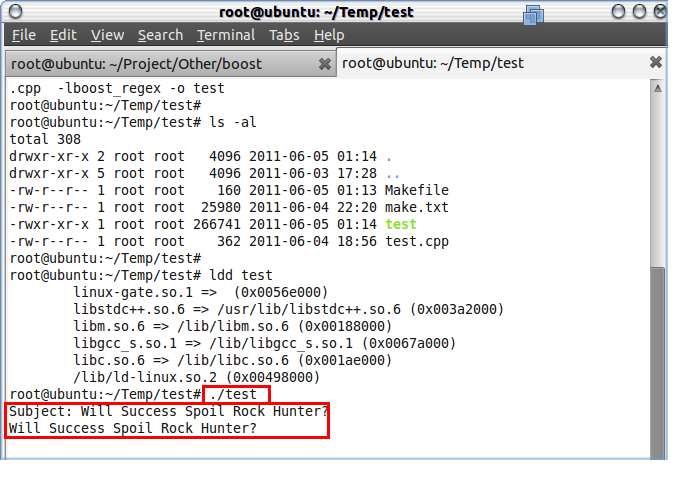
아래 테스트 코드를 가지고 컴파일 및 링크가 제대로 되는지 확인해 봅니다.
test.cpp
#include <boost/regex.hpp>
#include <iostream>
#include <string>

int main()
{
    std::string line;
    boost::regex pat( "^Subject: (Re: |Aw: )*(.*)" );

    while (std::cin)
    {
        std::getline(std::cin, line);
        boost::smatch matches;
        if (boost::regex_match(line, matches, pat))
            std::cout << matches[2] << std::endl;
    }
}
Makefile
CC=g++
CPPFLAGS=-O2 -I/root/Project/Other/boost
LDFLAGS=-L/root/Project/Other/boost/stage/lib
LDLIBS=-lboost_regex
all: test
clean:
rm -rf test
rm -rf *.o
